I’m continuing with the PRIDE theme over here, as it is PRIDE MONTH! Plus I still had some of this fabulous fabric left. So far, I’ve created a PRIDE Embroidery piece, plus a pair of chairs, but what I’m most excited about is this bench. It’s definitely a huge transformation for this piece.
PRIDE Bench
Several years ago, the owner of the bar I managed gave me this little bench. It’s been sitting in my studio for quite some time. I thought about redoing the original seat, but I decided to really give it a big makeover using the rainbow fabric. I’ve never really done a lot of reupholstery other than the occasional seat cover. Let’s just say I have a whole new appreciation for those that reupholster furniture. Between the corners and covering some of the structural work… I learned a lot.
The Process
Removed the original seagrass seating and swept up piles of dust
Sanded down the bench and filled in holes
Put in seat support framing and fitted a new seat top out of wood
Painted the bench a mustard yellow
Installed 3″ foam cushion and reupholstered with rainbow fabric.
This bench is for sale. If interested, please feel free to comment or email me! It needs a good home! (Let me know if you need a pillow to match… I think I have enough fabric left.)
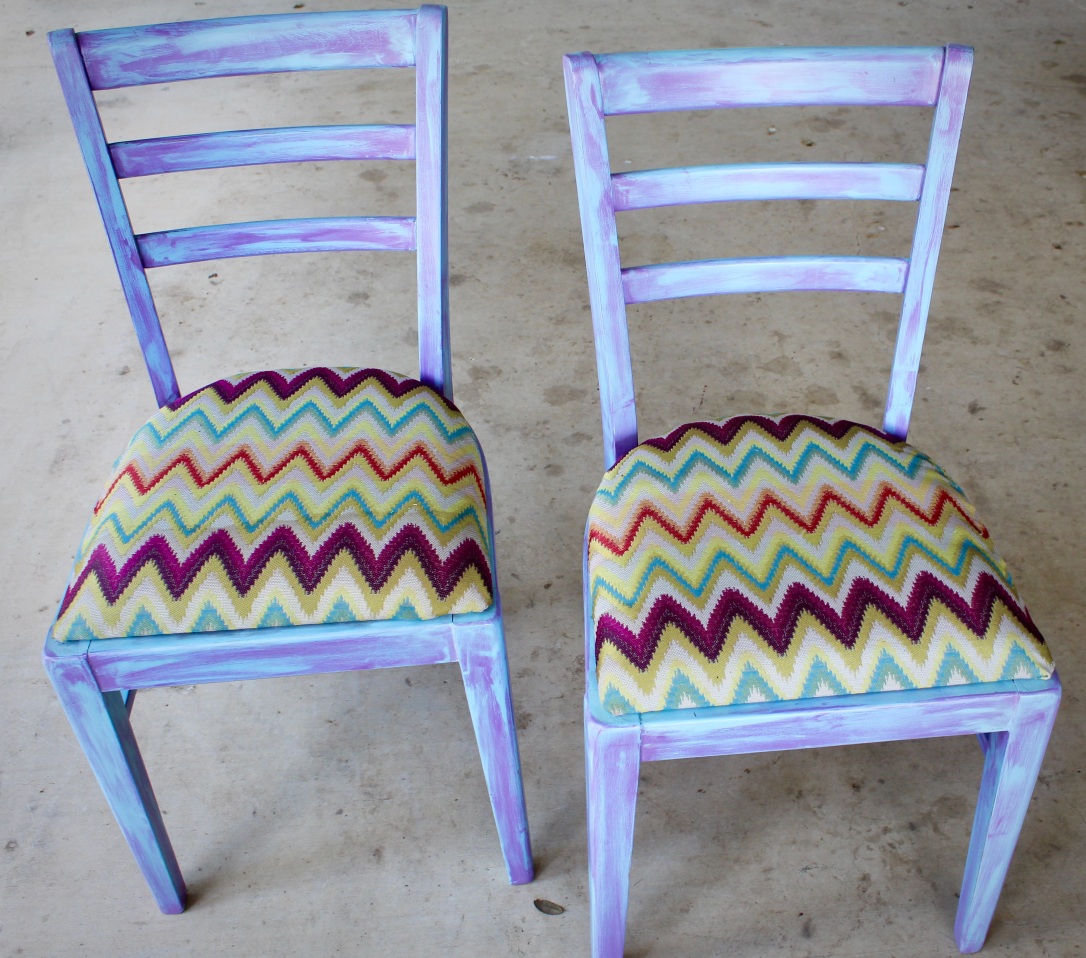
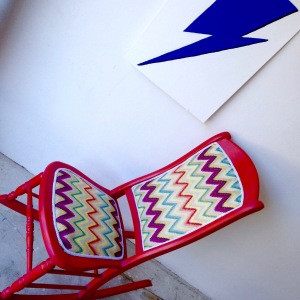
I posted just the other day about PRIDE in my “Embroidery with Pride” post. Well, I didn’t think of any reason to stop there. I wanted to keep the theme going for the entirety of June as it is PRIDE Month. That being said, I’d like to show off this fabulous set of chairs I recently refinished.
The Prideful Pair
Several years ago, I refinished a rocking chairright after David Bowie’s passing. I reupholstered it with this loud rainbow fabric. I’ve been holding onto the remainder of it waiting for the perfect time and pieces to use it. PRIDE seemed like the only appropriate time to me. In my mind, these chairs were the perfect choice. Their simple build allows a lot of room for loud paint and the rainbow fabric.
The Process
Removed the seat, sanded, filled in holes and dents, then continued with structural repairs
Applied sky blue base, then an overcoat of purple and sanded down to achieve the distressed look
Continued with a polyurethane topcoat for maximum durability
For the seat, I removed two layers of upholstery, including countless staples and upholstery nails
Put in new seat padding and reupholstered with rainbow fabric.
These chairs are for sale. If interested, please feel free to comment or email me! They need a good home!
Wow! We have survived the first month of 2017. What a whirlwind it’s been! Remember one of my last posts where I talked about my year long project? Furniture for the Fight? Well, I have completed my first project month’s project. January was National Mentoring month and a percentage of the proceeds will be going to Big Brother, Big Sister.
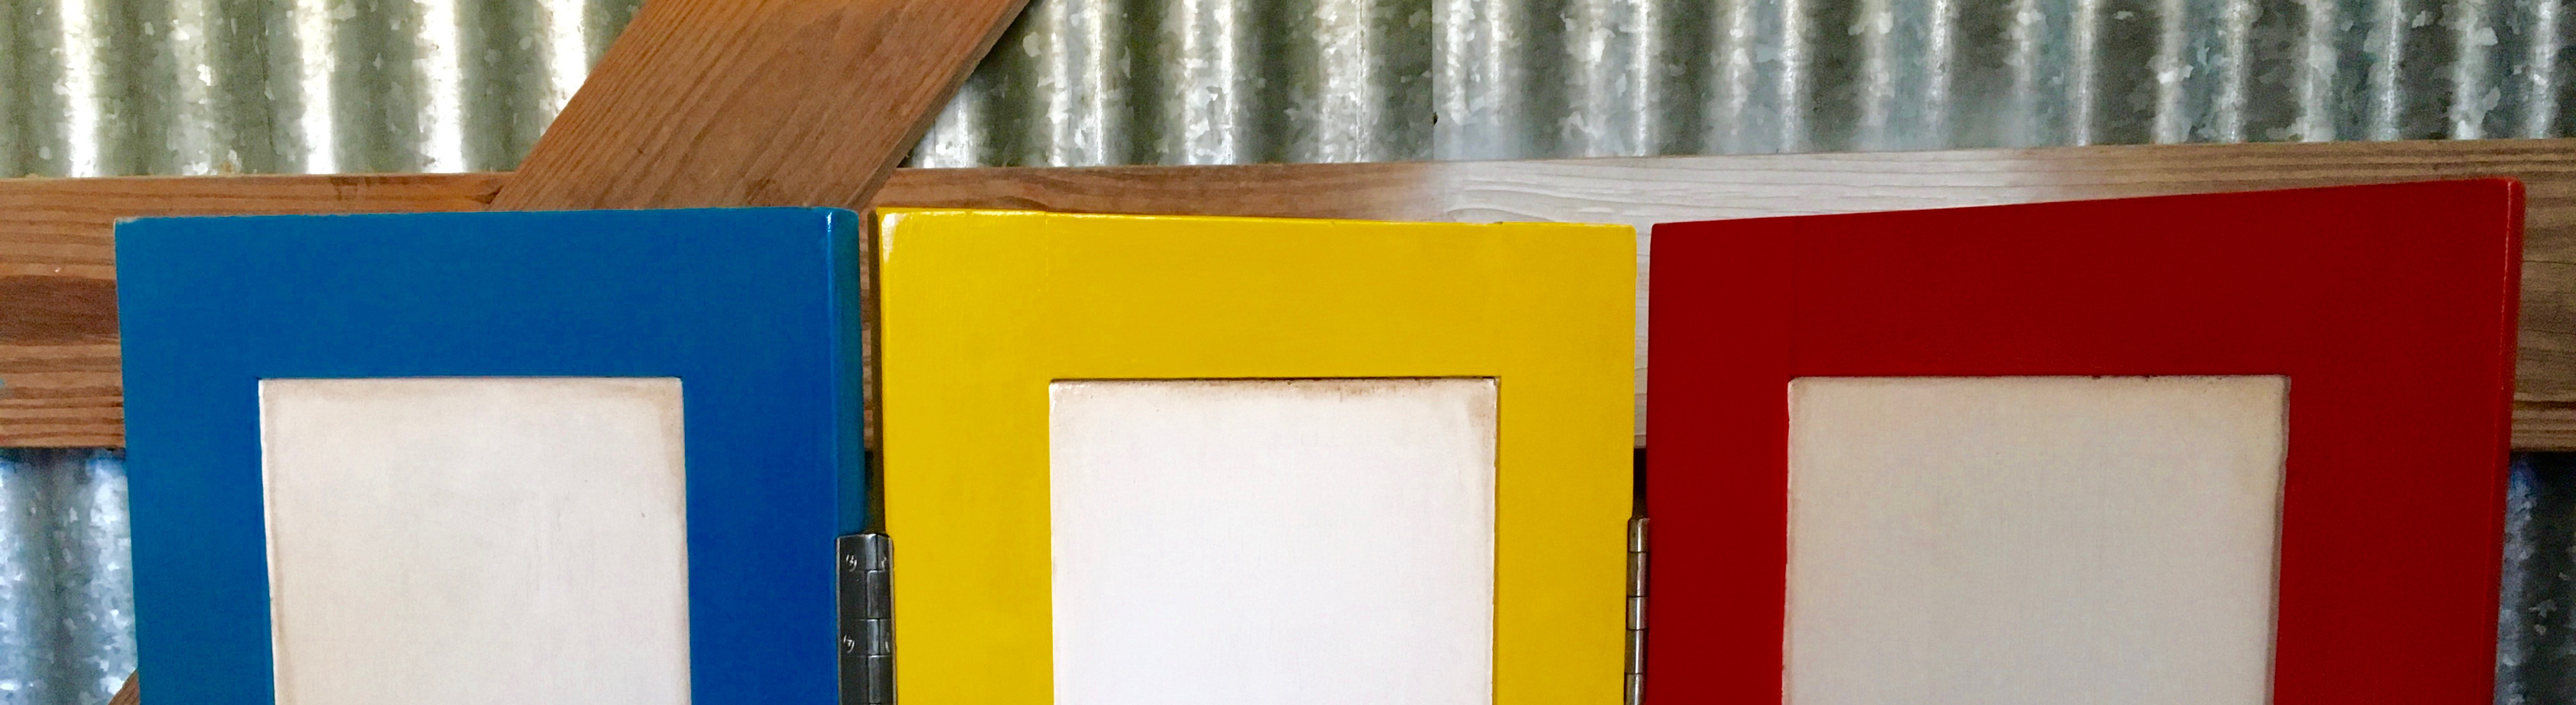
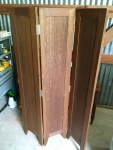
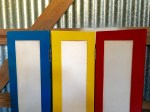
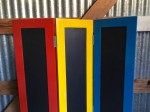
About the Piece
This piece is a tri-fold screen. The trim is painted in primary colors. One side is painted cream and buffed with a walnut finish to produce an antiqued look. The other side painted with chalkboard paint so little ones can draw, add, subtract, practice their alphabet on the other side. (All colored paint is finished with a polyurethane finish for easy cleaning.)
This piece is FOR SALE. If interested, please contact me directly at lauralee@madebylauralee.com
Ok, Ok, it’s no secret I’m completely head over heels, and googly eyed over refinishing furniture. Like most projects they need a home. A stack of embroidered towels is one thing, but a collection of furniture seems to build up a lot quicker in a one bedroom apartment.
I reached out to my friends to see if anyone was interested in having me refinish a piece for them. I cast my line and I waited, waited, and finally got a bite, or in this case, a dresser. I couldn’t be more thrilled!
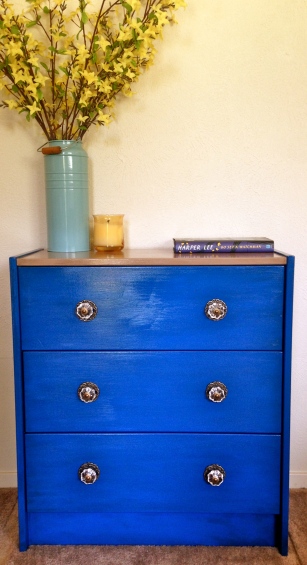
A couple days later, Melissa dropped off this unfinished pinewood dresser. She gave me her guidelines of what she was looking for and I ran, ran, ran with it. I think I was just so excited to finally be able to work with an item that I could put new hardware on! I mean, let’s be real, who hasn’t stood in the home goods section of Anthropologie and ogled the various knobs and handles? I mean, I even have my best friend saved in my phone as “Lindsey Door Knobs” because of our first bonding moment of Anthropologies gorgeous door knobs.
I digress… back to the dresser. It was fun to work with a completely blank slate. After priming it, I painted this it bright blue with a top a little bit more neutral to be able to tie it into it’s surroundings. The blue was really blue, so I put a nice coat of walnut stain over it to mute the blue and give it some texture. I lined the drawers with the teal and white patterned paper and screwed in the glass knobs for the final touches. This piece is so far my favorite that I’ve done!
If you need a piece of furniture refinished, contact me today! lauraleeeimhoff@gmail.com
One more thing, while I have your attention: I will be in another craft fair this coming Saturday at OPA Coffee & Wine from Noon to 4 PM. Details here.
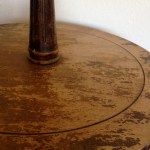
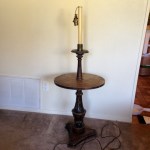
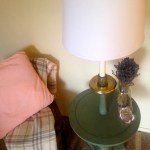
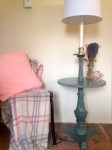
It has been a long time coming, but I have finally completed a furniture piece that I have had in my possession for years. This little table deserves it.
The Back Story:
In 2010, my Ex and I both taught a class at Skill Share. (If you haven’t heard of Skill Share, I highly suggest you check it out.) My Ex, Dave, is a skilled electrician and was volunteering his time to teach a light re-wiring class. Dave also had a knack, a gift, whatever you want to call it, for finding the coolest free treasures. Most would probably call them junk but for those that were fans of the vintage and antique, he was the best magnet to have. He collected and pulled together bins full of lamps for this class. I was unable to attend his class, as I was teaching my canning class at the same time, so I never got the tutorial, but I was so happy to see many of the unwanted lamps come back home with him!
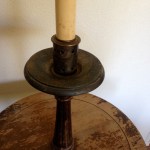
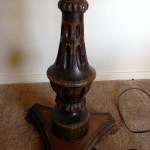
A couple of years passed, Dave and I were moving on with our separate lives, I was relieved and thrilled that he did not have a lot of interest in the two lamps that I so desperately wanted. One is the cutest yellow lamp which sits on my nightstand and the other was this little side table with a light in it. I’m assuming Dave thought it was more trouble than it was worth, just by looking at it. It was wobbly, the light fixture needed to be replaced, and the finish was shedding off at an exponential rate.
I have moved several times with this diamond in the rough. Every move, I tell myself, “Someday, I will refinish this,” or, “I swear I will get to this project.” I don’t know if the timing was just right or that there is some magic force within the walls of this current apartment that is a driving force behind me completing lingering projects, either way… this side table got the treatment it deserved.
Admittedly this project took a little longer than anticipated due to the cold weather. I do most of my work outside for ventilation and the sake of my downstairs neighbor. Thankfully we’ve had a few days of exceptional weather and I was able to sand and finish this project.
This little table no longer wobbles, it’s been painted and finished, the metal bits are cleaned up and polished, and refreshed, as well as a spiffy new light fixture. This project has left me feeling more handy than ever and satisfied to have finally completed it. What a learning experience!
I have a new piece of furniture! The little stool was a great first project, but I thoroughly enjoy moving up and graduating to more complex projects.
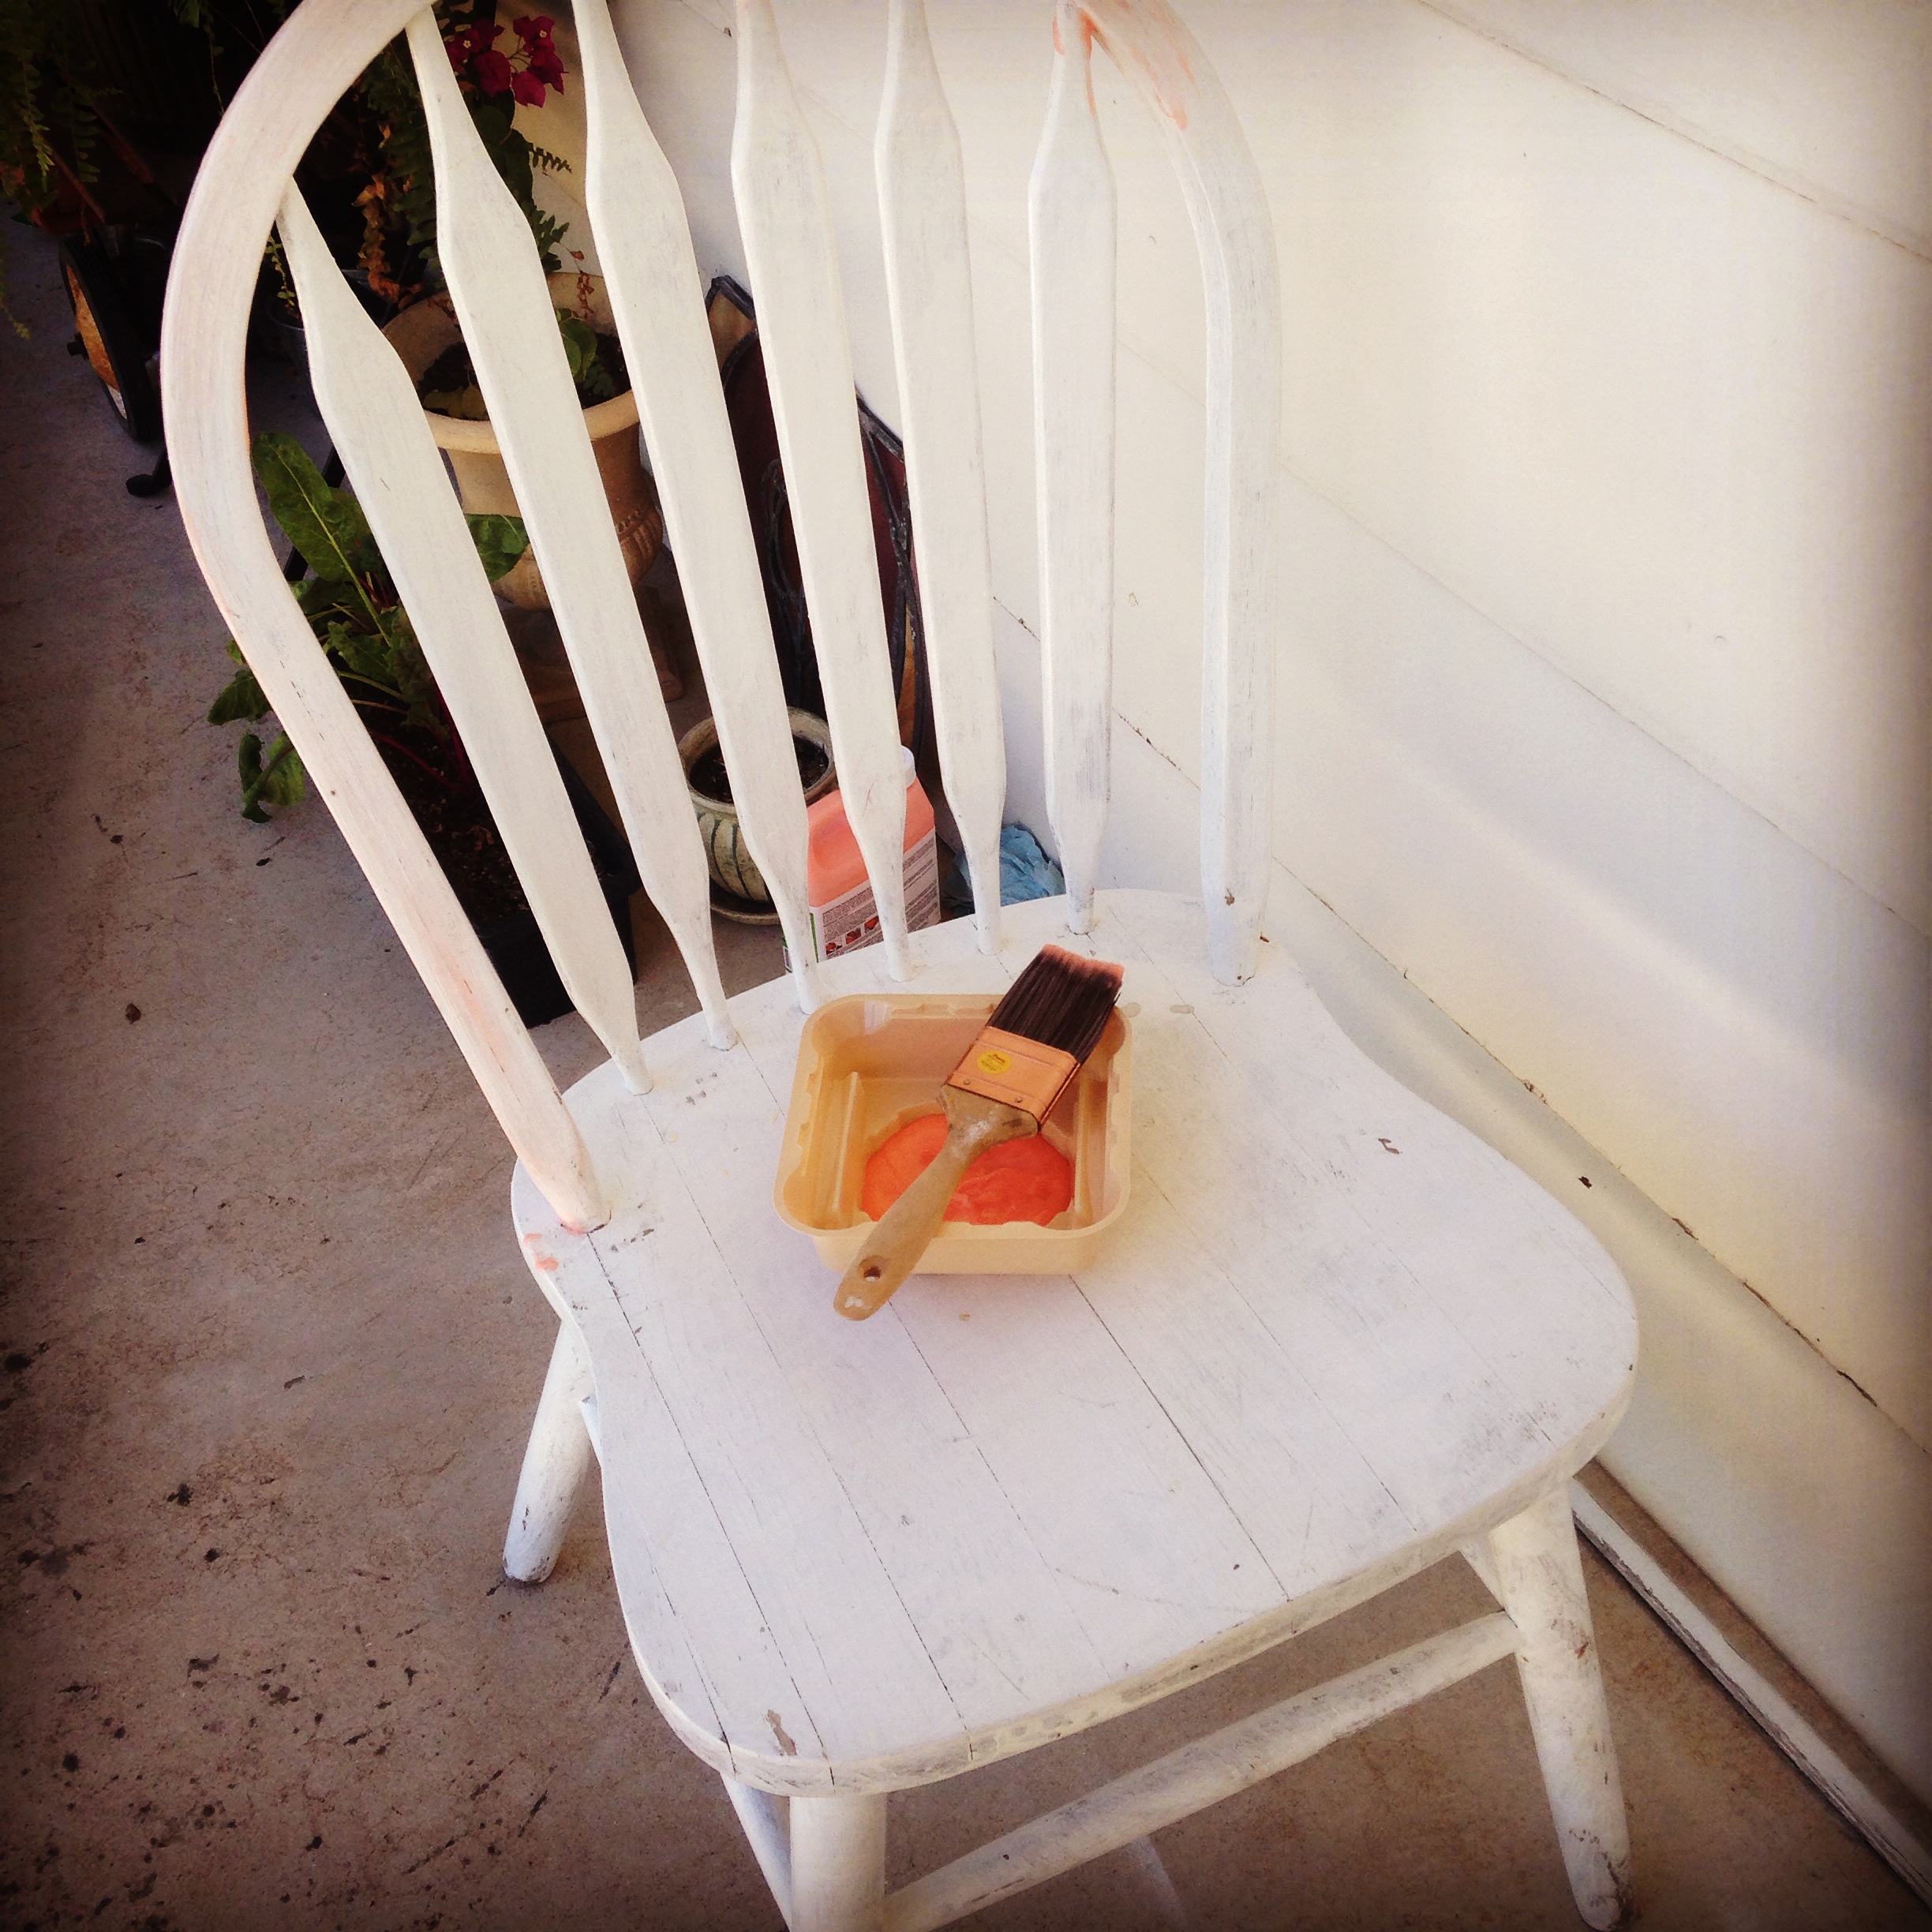
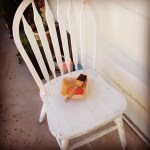
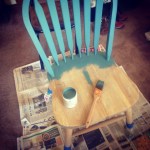
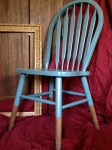
A little back story on this chair: A few years ago when my Ex and I had moved into this charming little house on the East Side, we discovered this white chair that was left behind. The structure of the chair was, for the most part, sound, but it had been carelessly painted white. Like a lost puppy, we kept it. When my Ex and I split, I kept the chair. I always had it in my heart that I would give this chair some TLC. Several years later, it got just that.
Eager to get started on this project, I applied stripper to the chair, chomping at the bit to peel off the layer of unwanted paint. I let it sit and when I went to scrape, I was more than disappointed. I wanted that somewhat weird satisfaction of peeling paint; similar to pulling glue off your fingers when you were a kid. (Is this weird or are you coming with me?) Needless to say that only thing that came off was the stripper. (insert inappropriate joke, go ahead and get it out of your system)
Learning Experience #1: When stripper is applied to paint that has been applied over stain: it turns into a gel and doesn’t actual get you anywhere but frustrated.
After this discovery, I quickly felt myself getting sick. I was hit with a strong wave of seasonal allergies, which landed myself in bed for a week. Ahthankyooou, Rag Weed. This brings us to….
Learning Experience #2: Don’t work on projects when you are not feeling 100%. You will end up doing more damage than good and therefore make more work for yourself.
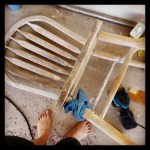
After recovering from being Sneezy’s lost cousin, Snotty, I got back to work. I trucked my sander and my chair off to a friends house to whip this stripper/paint/stain layered mess into submission. After hours of using my power sander (YAY!) the job was done. I then applied some wood filler to cracks in the seat to get it back to an even and smooth surface.
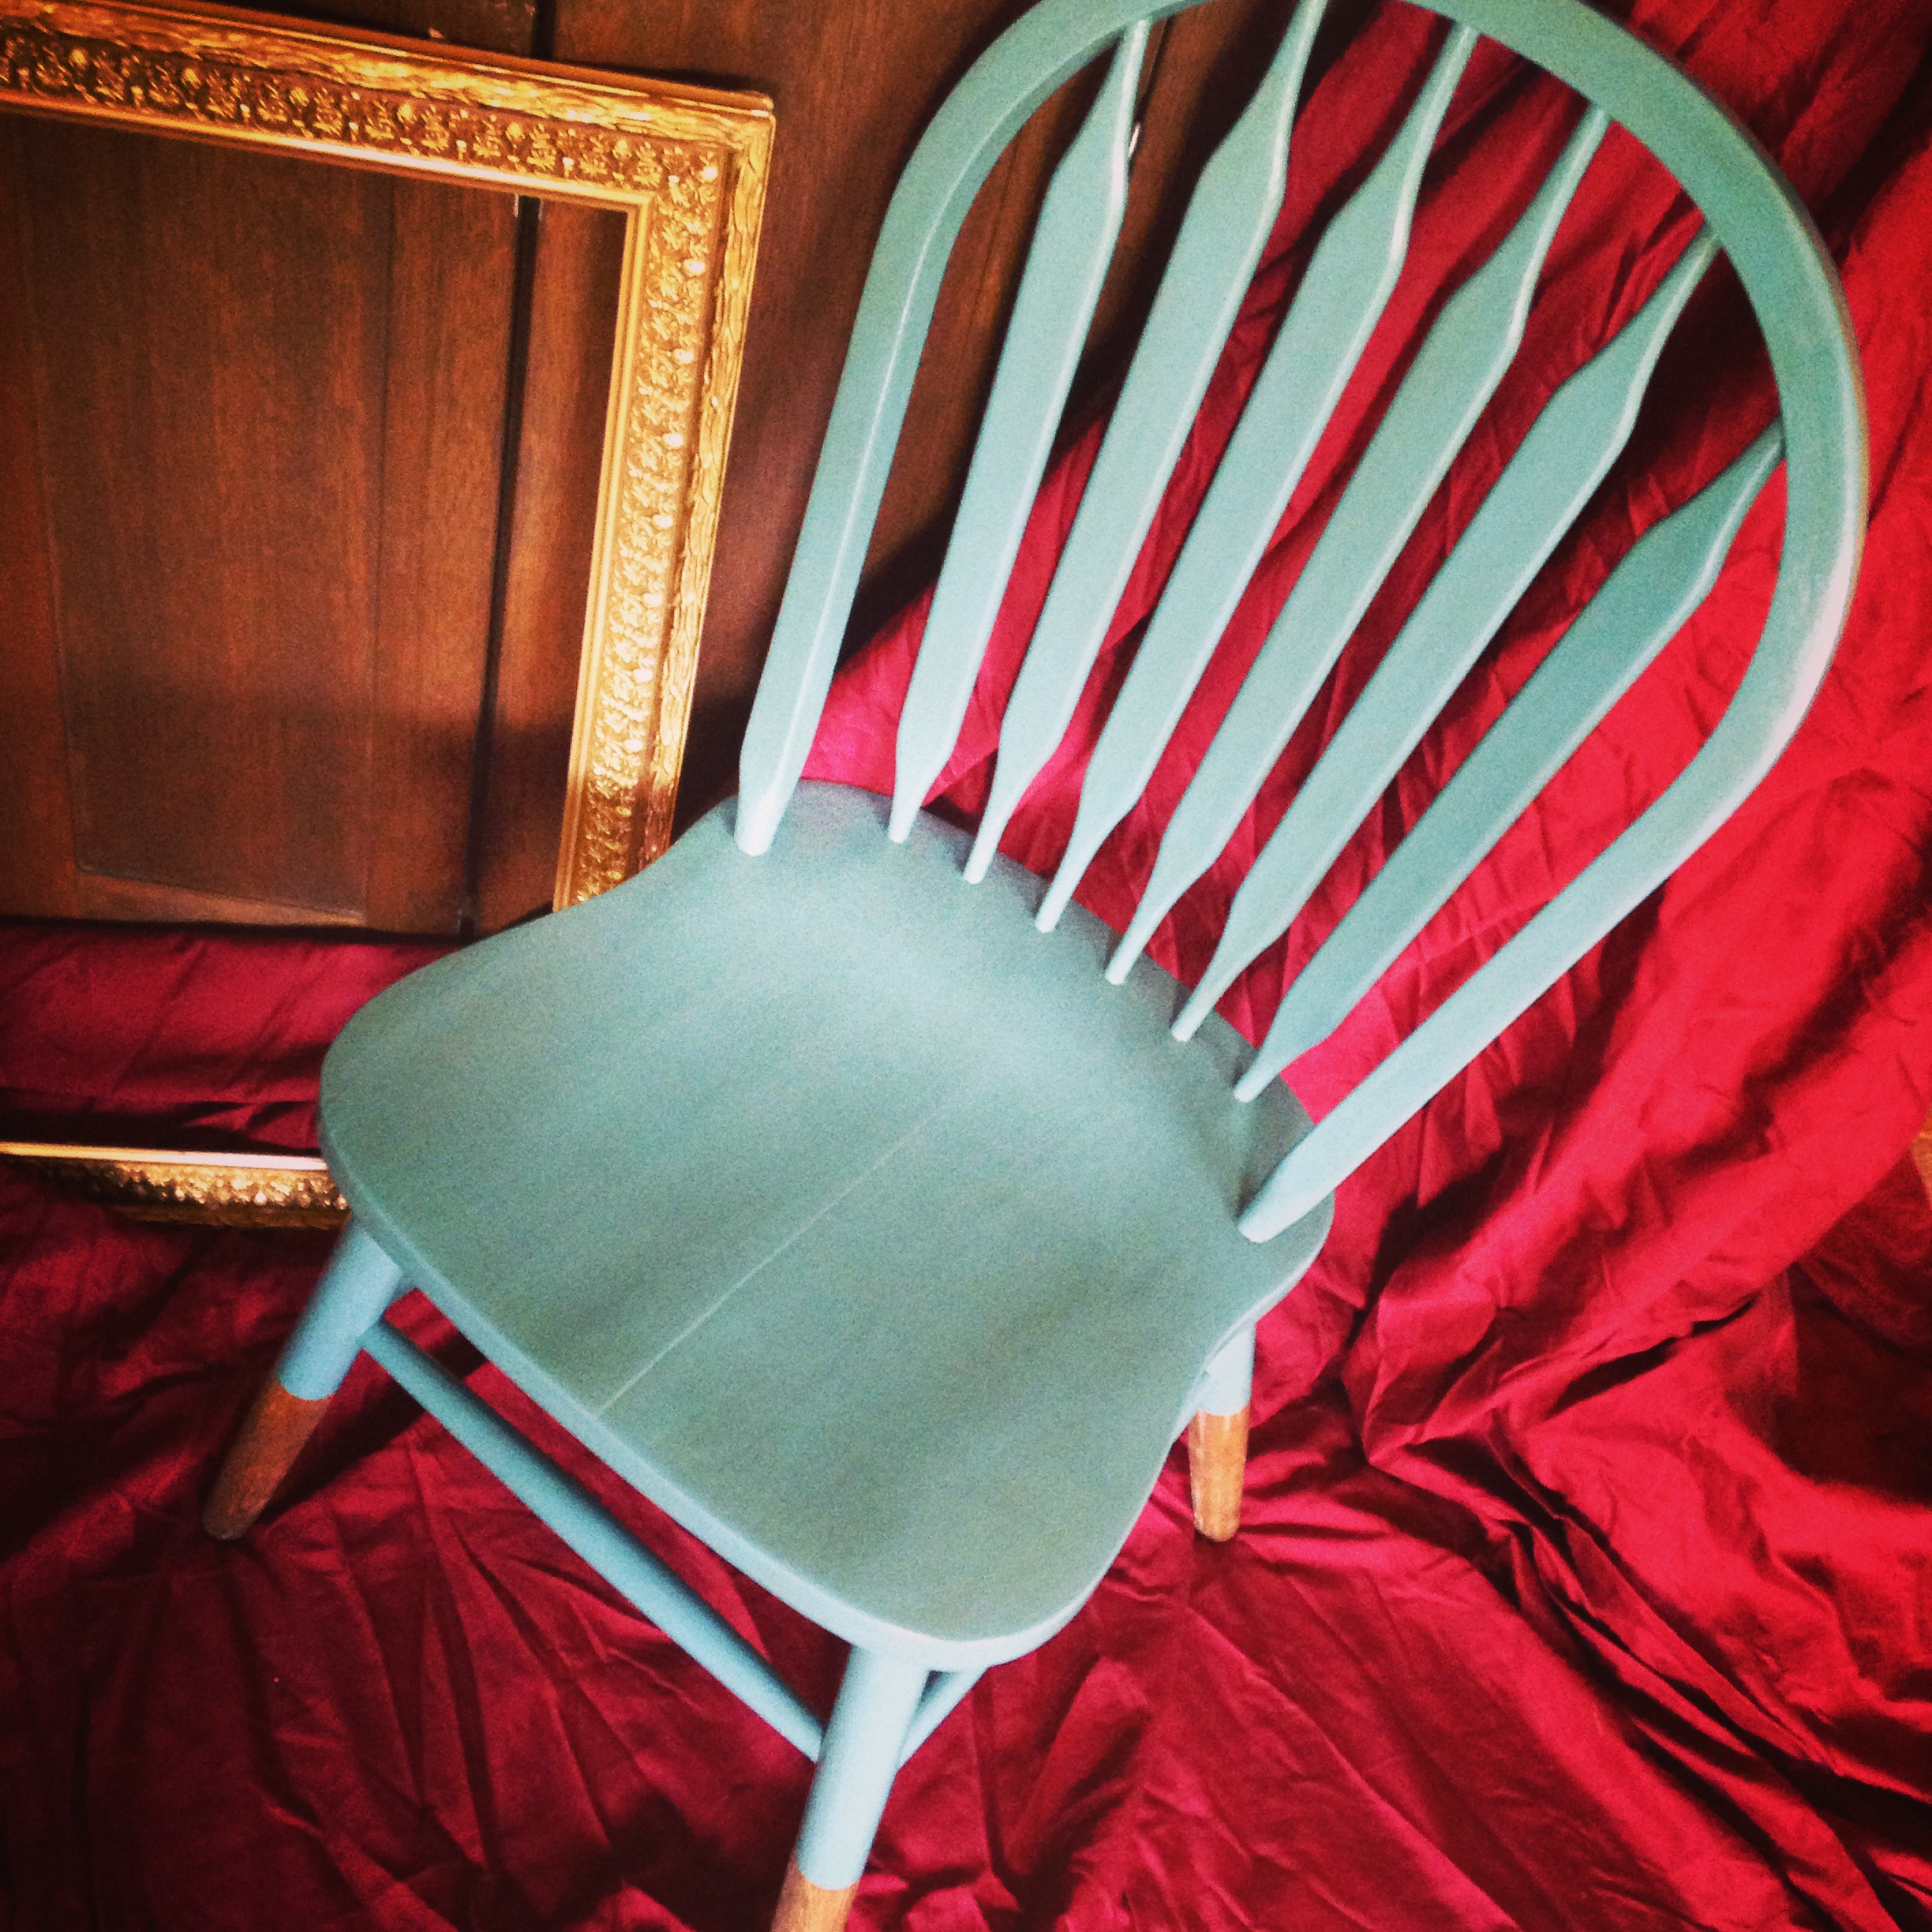
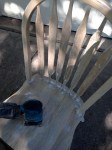
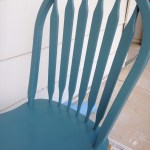
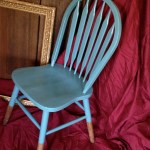
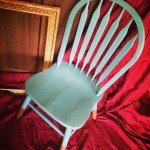
I’ve always wanted a teal or turquoise piece of furniture. I was fortunate to locate a color I really liked, appropriately named “Smoked Turquoise.” Once a few coats were dried, I applied stain to the entire piece. I have never used stain before, admittedly I was nervous, but it turned out very easy to work with. I lathered on the stain, let it sit, and then buffed it off. Applying the stain over the latex paint gives a subtle aged feel without making it look forced.
This piece was a little more labor intensive than the previous, but I must say I found it valuable. I worked with new mediums and gained a few new techniques.
Learning Experience #3: Take better before pictures! (I did take more “In the Process” Pictures, but I wish you could have seen a better before picture!)
Needless to say, I believe I have fallen in love with refinishing furniture. In love. I cannot believe how satisfying it feels to convert an ordinary piece of furniture into something special.
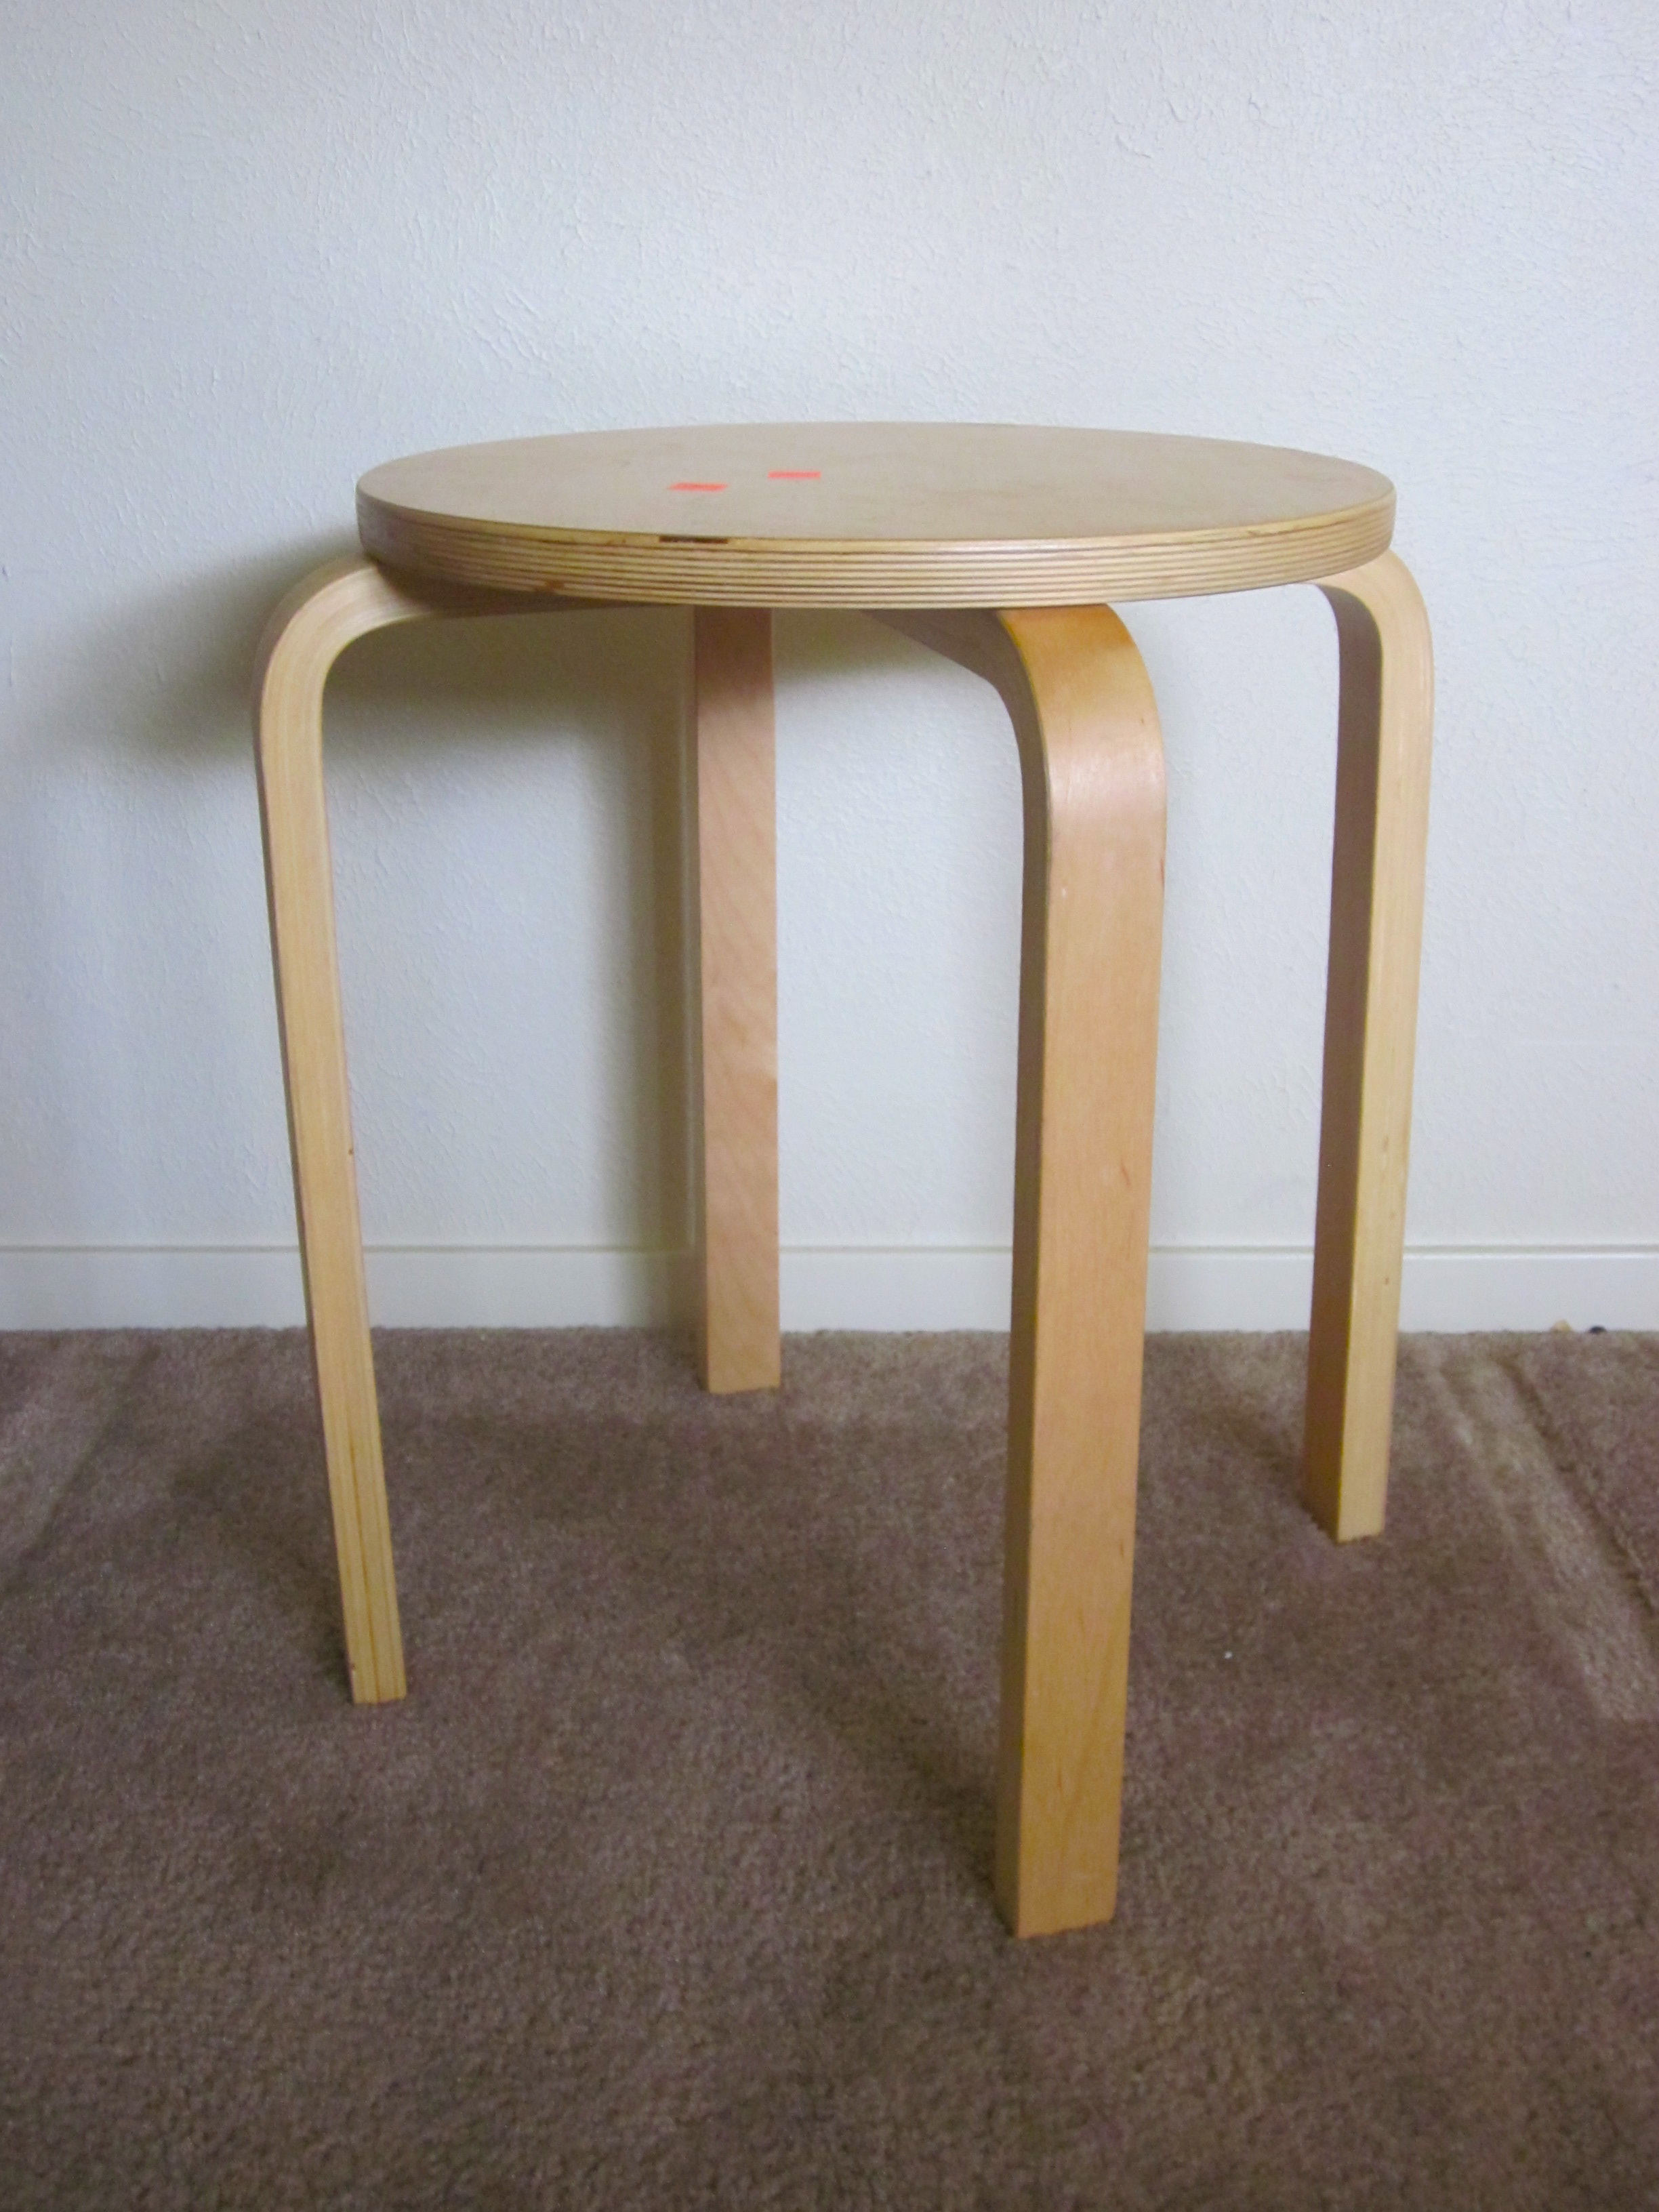
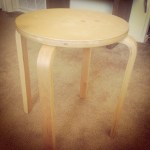
In my past blogs, I have always talked about the women that have inspired me. This particular post is more of an ode to the creative men that have influenced me . My father and his father have always had a knack for skilled carpentry. My Dad can look at the skeleton of a farm house and turn it into something really special. His father, obviously taught him. My Grandfather gave me a taste of woodworking at a young age. I have fond memories of building toys, painting nutcrackers, birdhouses, and wooden signs with him. I remember sitting up on a stool at his workbench in his basement workshop listening to stories about World War II and how he first met my Grandmother while Bing Crosby was playing in the background. When I came home for Christmas one year, my Papa showed me pictures of these refinished dressers, rocking chairs, and chests that he had picked up at the junk yard. He would breath life into the old tattered pieces of furniture. They would glow when he was done with them! I told him over and over again how much I wanted to learn how to do what he did. A few years later, my Grandfather died of leukemia. His passing was very difficult for me as I was closer to him than most. It is my biggest regret that I lost the opportunity to learn his techniques, not for passing on the trade, but the bonding experience. I’ve since begged boyfriends, exes, and guy friends to teach me how to do it, but no one has ever really taken the time. Fatigued with desperation, I finally picked up a book appropriately named Furniture Makeovers by Barb Blair. I have just completed my first furniture makeover. I found a simple, easy one for a first time: a good ol’ Goodwill stool. I learned how to strip, prime, paint, and finish. My Grandfather was a traditionalist when it came to refurbishing wooden pieces, I decided to go a different route. I know he might not approve of my bold colors, but I know he would definitely be proud of the quality of the work.
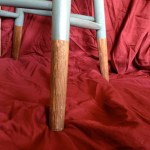
Before shot of the good ol’ Goodwill Stool. Light honey finish, coffee mug ring stains on top. Some dents in finish and wood on the legs.
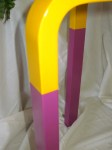
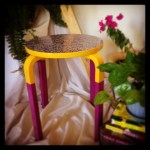
Initially painted legs golden rod color, taped them off, then painted magenta for two toned effect to balance out the cool of the paper top.
Hand made paper from Paper Source. The gold on the paper was originally silver, but I hand painted them. I thought the gold looked better with yellow and magenta. Decoupaged paper clear finish over.


 Ok, Ok, it’s no secret I’m completely head over heels, and googly eyed over refinishing furniture. Like most projects they need a home. A stack of embroidered towels is one thing, but a collection of furniture seems to build up a lot quicker in a one bedroom apartment.